|
|
Home of the
Timpdon Miniature Railway
(5" Gauge Ride on Railway) |
|
A 'Blog' about Trying to Build a Railway
(Part 2)
The never ending project to try and build a
ride on (5" gauge) ground level railway in a normal back garden
|
|
Click to enlarge any photo


|
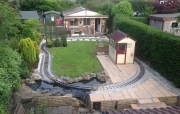
Track Laying Begins
All the hard work is starting to pay off. Instead of shovelling stone and hardcore (see every previous entry so far) at long last Im doing something railway related. The track is going down! [pause for fanfare].
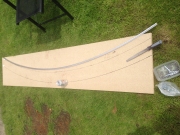
I had ordered the track from Maxitrak. Id gone for the aluminium 16mm high stuff on plastic click-fit recycled plastic sleepers. I know wood battens would have been okay and cheaper, but the advantage of having such a small railway paid off it hardly cost more for the plastic option. Why Maxitrak? Well, I didnt want to buy a rail-bender at over £100 quid because a) it didnt seem necessary for such a small line, and b) I didnt have a hundred quid going spare. So I chose Maxitrak as they were the only ones I could find who would supply the track pre-bent. The 10 radius oval kit seemed the best option as it would be easy
[pause for laughter from the more experienced readers].
It turned out that the track hadnt been bent to 10 and was more like an 8 radius. It also wasnt cut to length and wasnt pre-drilled for the fishplates. I actually re-read the advert and, in fairness to Maxitrak, it didnt say it would be
Id just kind of assumed.
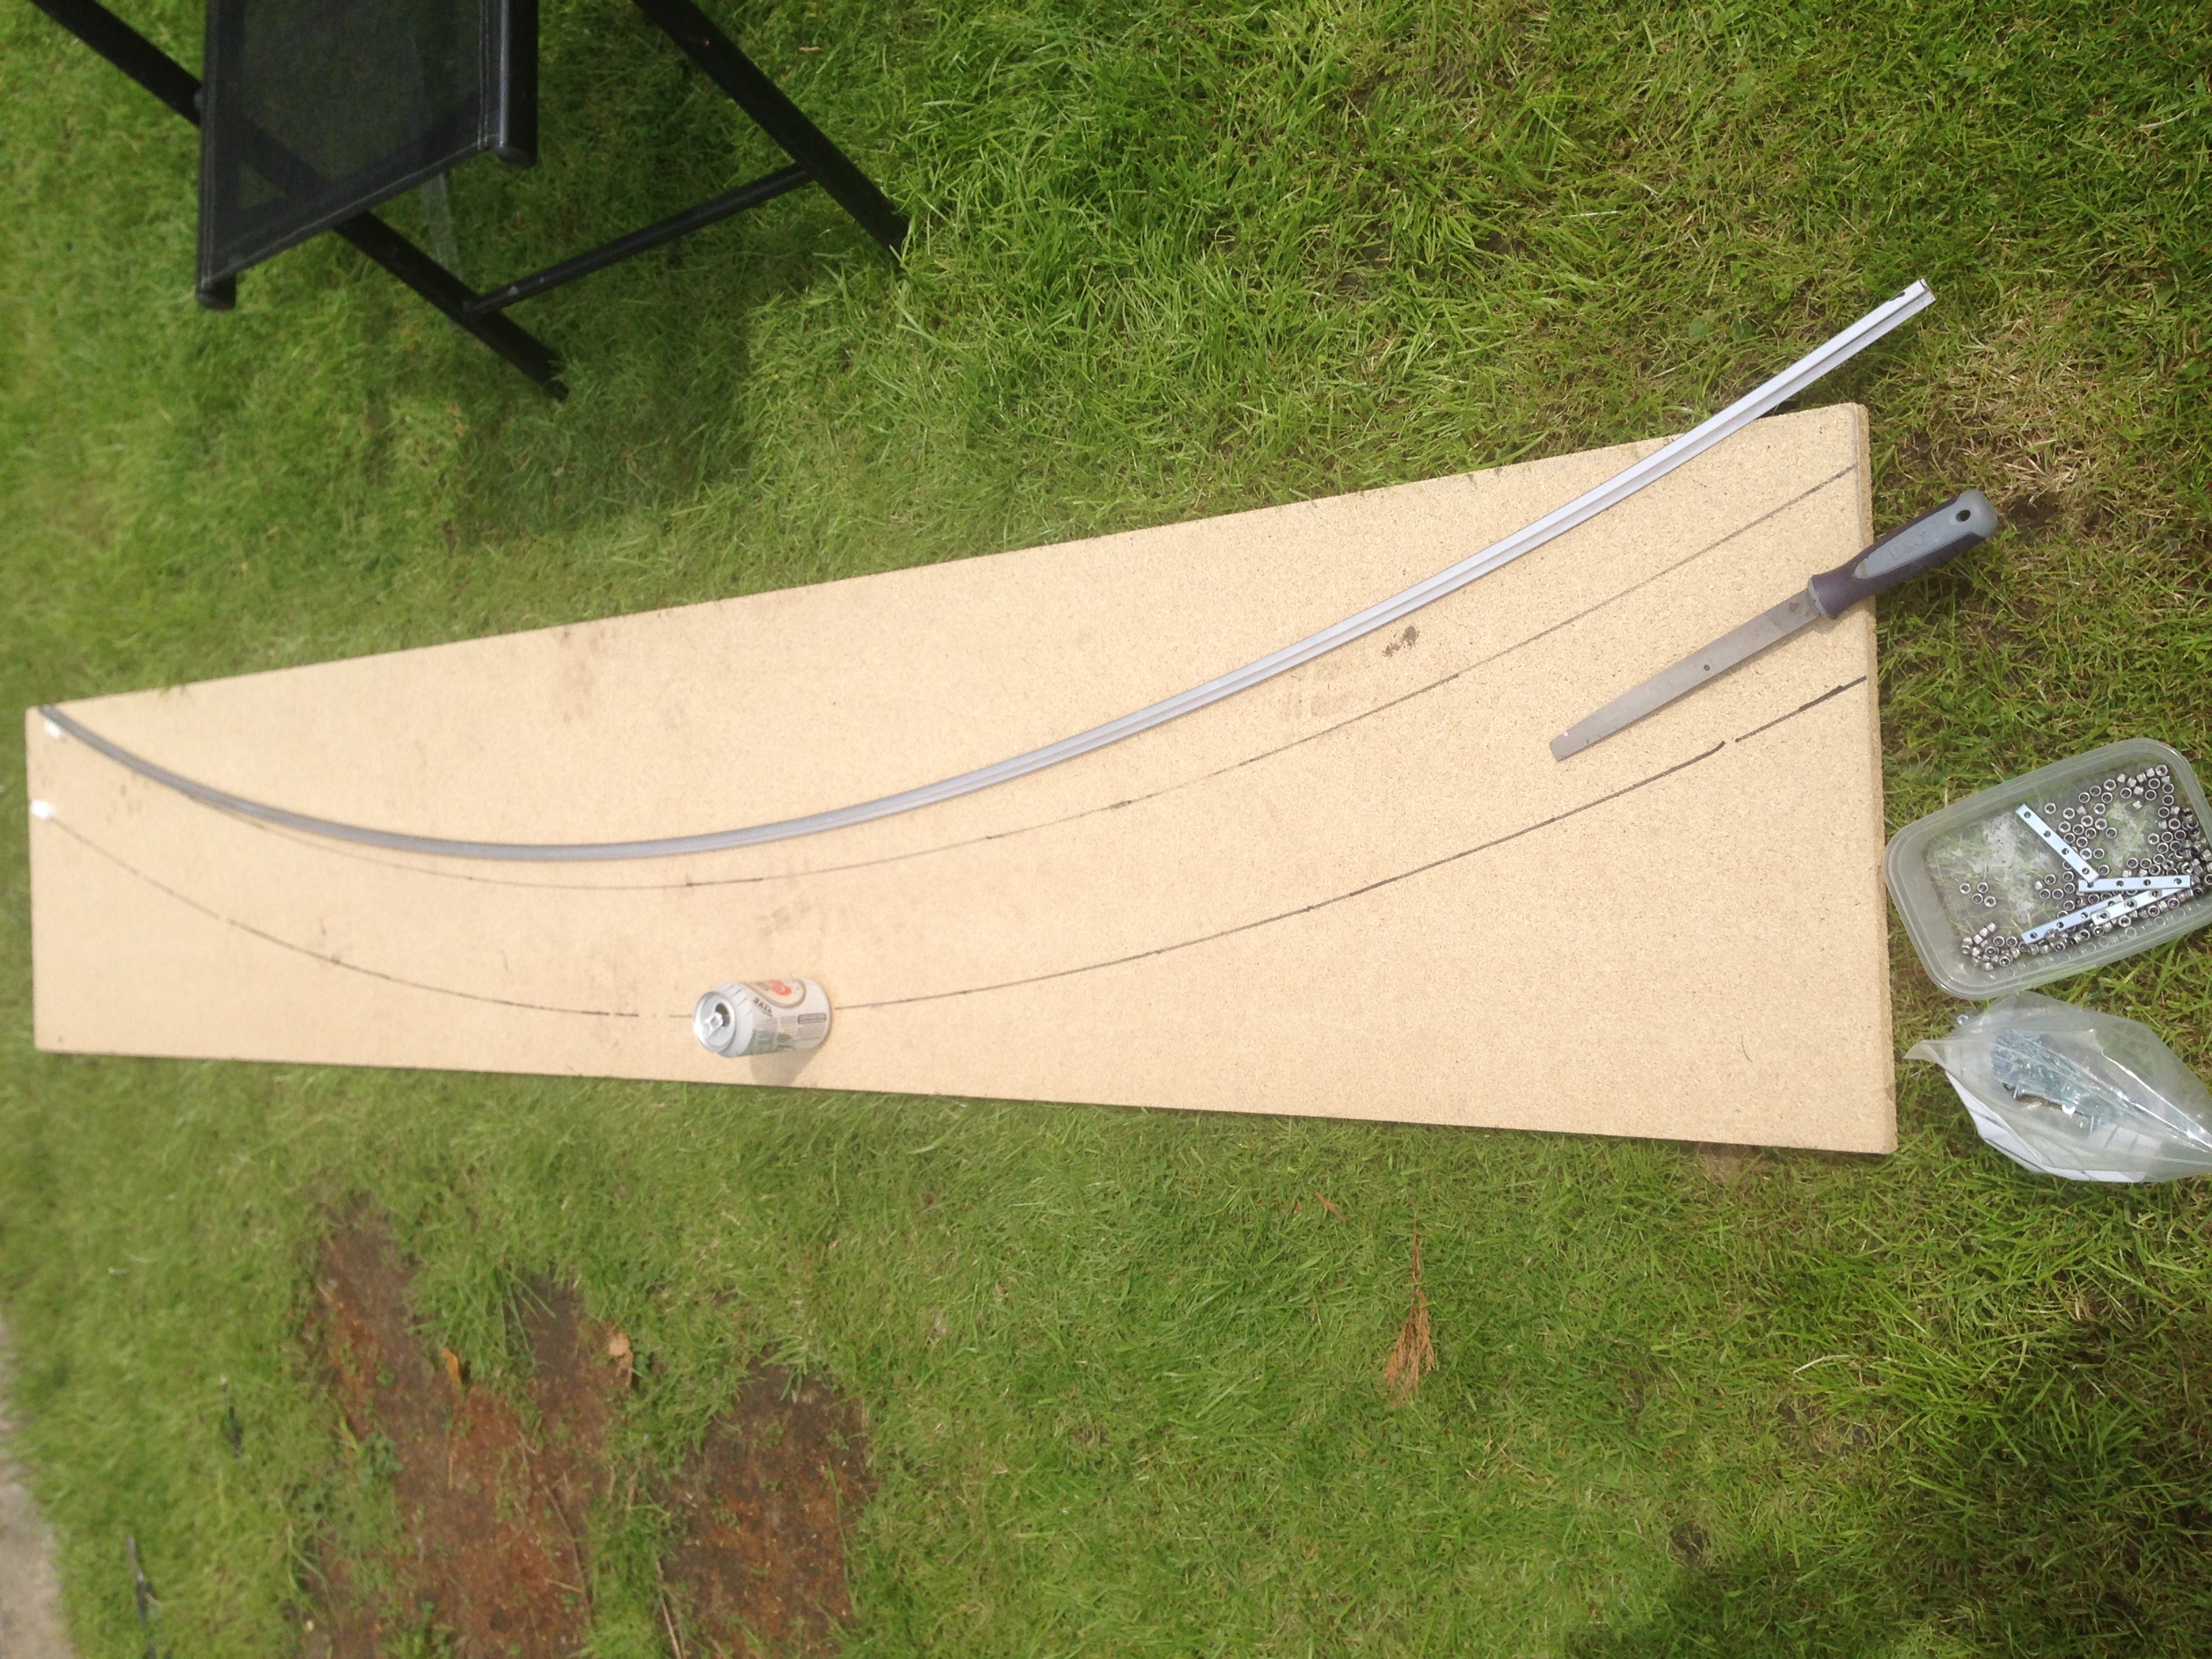
Anyway, neighbour Geoff came up with the brilliant idea of making a simple jig for the rail so wed always drill the fishplate holes in the correct place (see picture). I also took Ride on Railways website advice and drilled the hole in the rail 6mm diameter, although theyre only for 4mm diameter M4 bolts. This would allow for expansion. Another good tip was to use nylon lock nuts, not fully tightened, so that the rail would take up this 2mm on hot days.
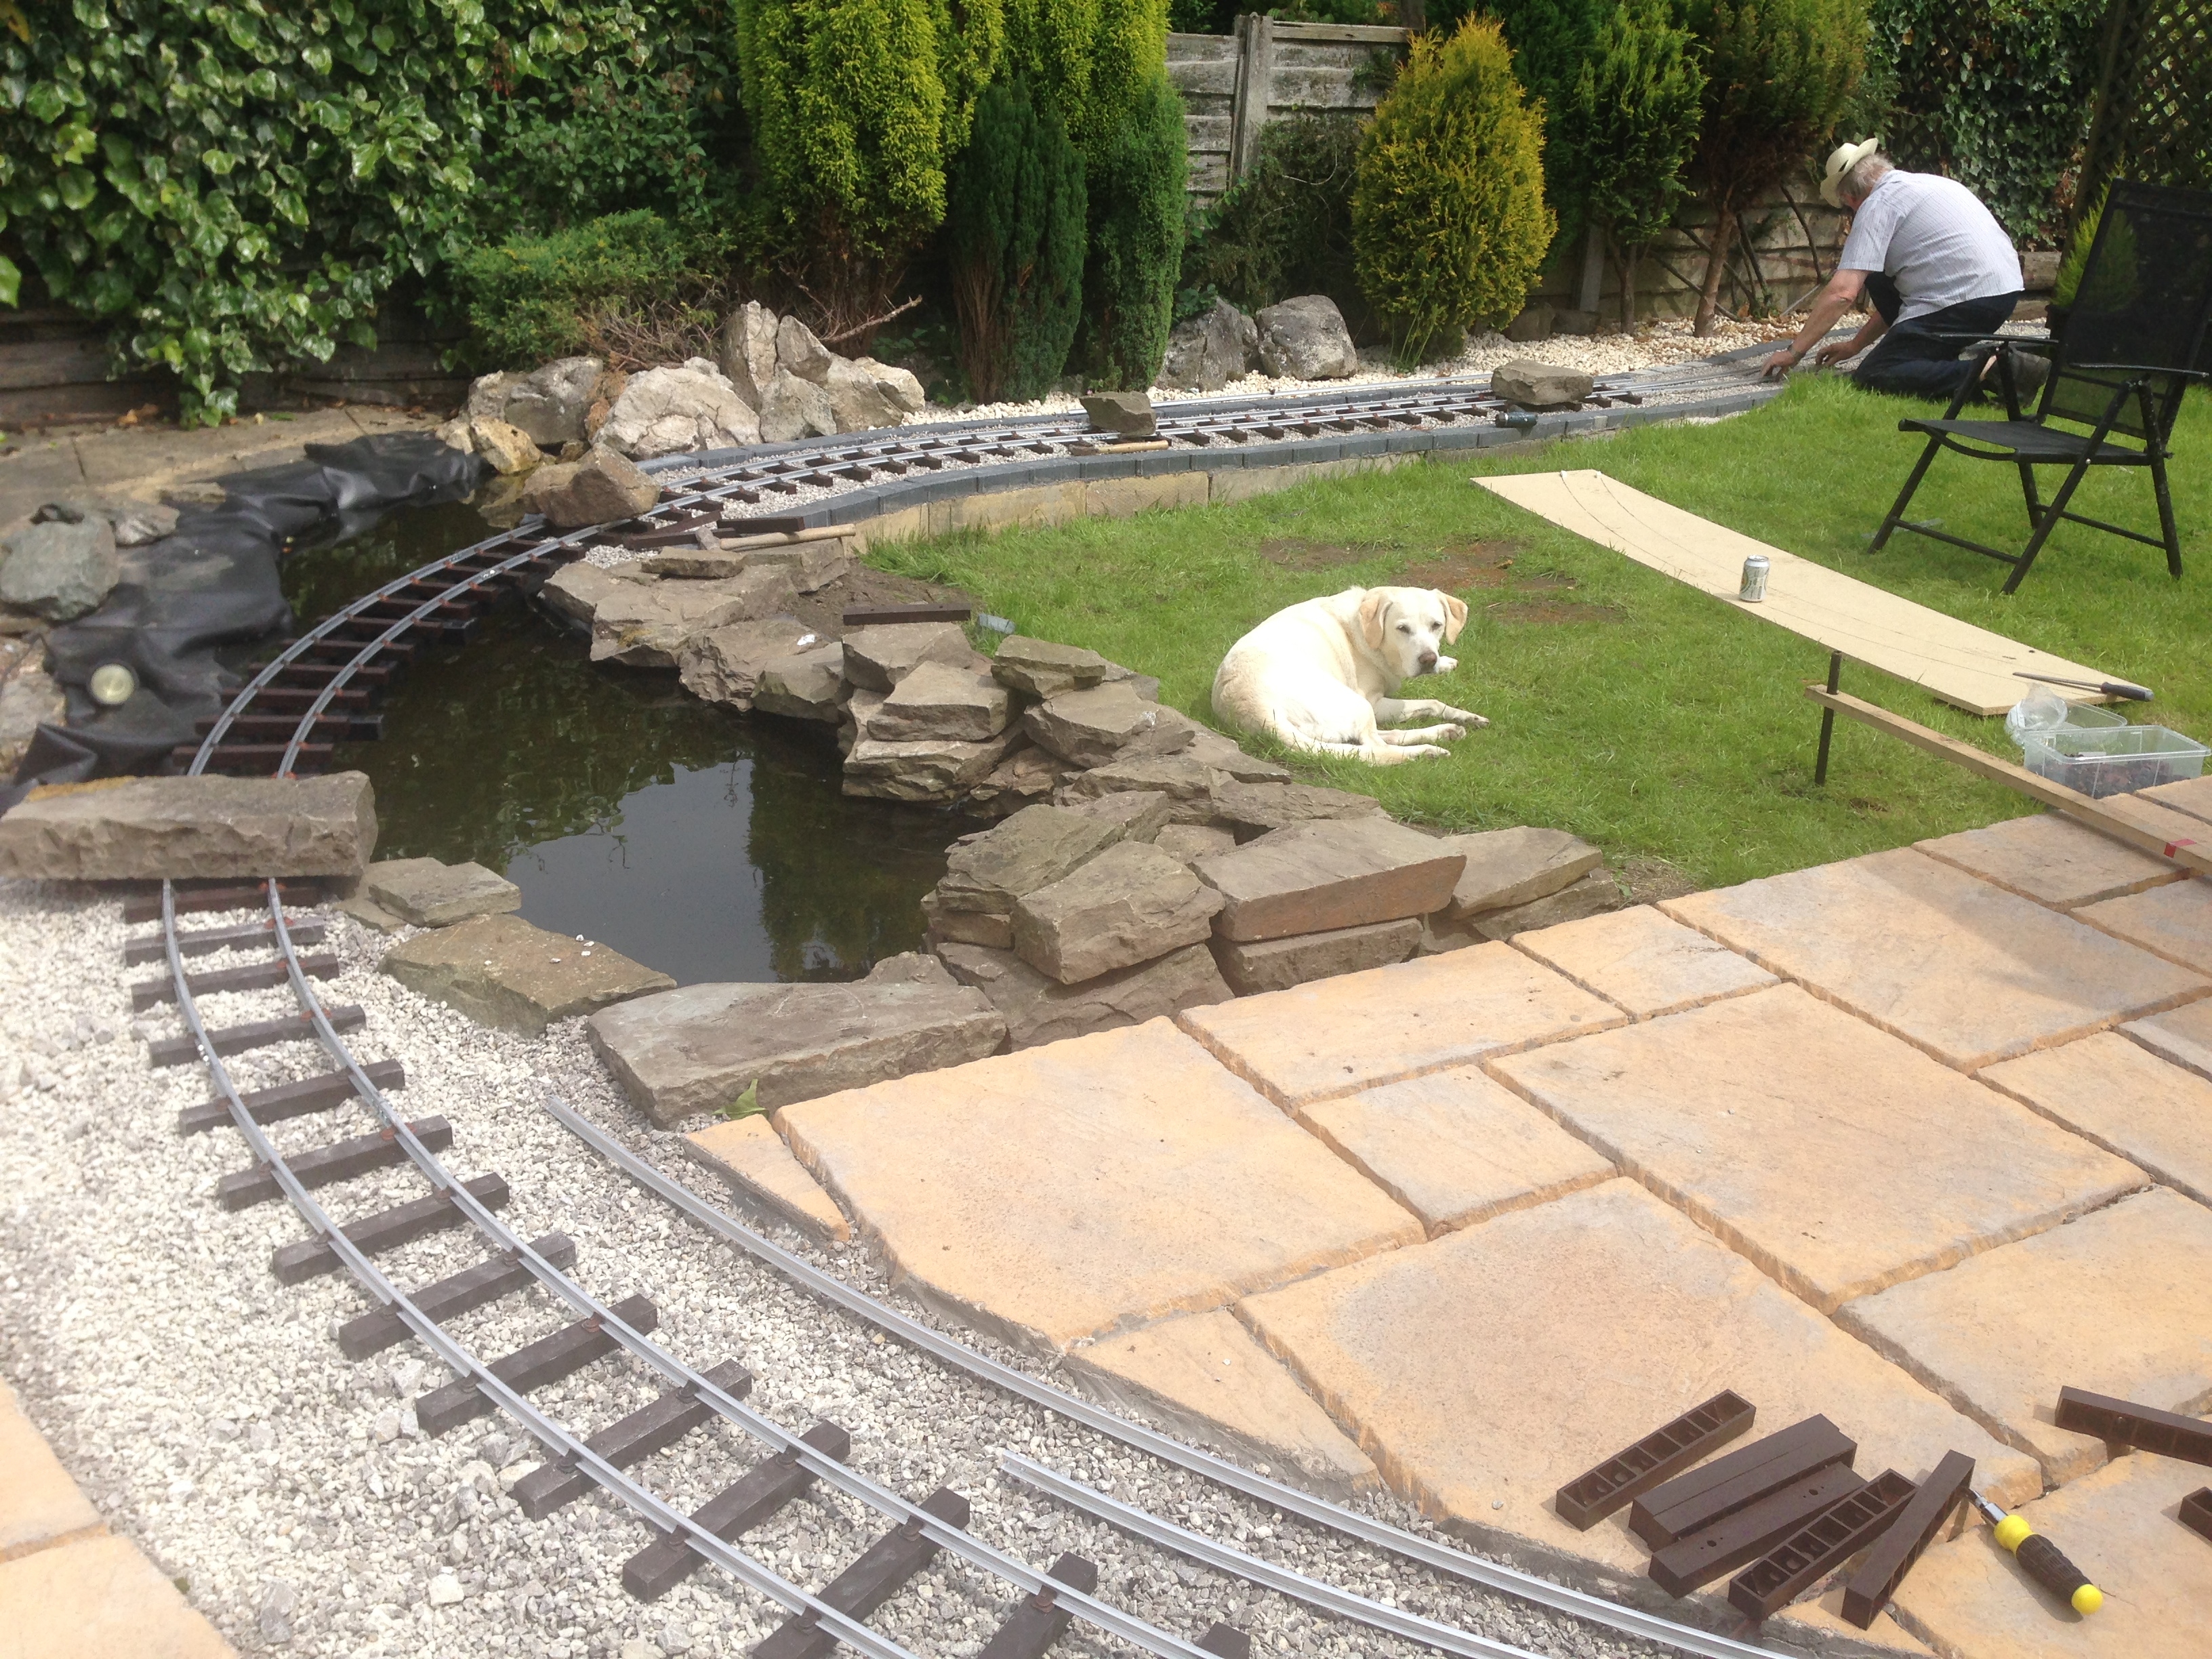
Fellow railway enthusiast Maurice (hes actually Gauge 1 but despite this I still like him) spent the day helping to lay the track after hed bent it to the correct radius. To achieve this I got an off-cut of chipboard 8 long and about 18 wide. The inner and outer radius were drawn on it and the old rail over the knee trick made it right.
The track went down rather well with two of us doing it. Drilling for fishplates, sliding chairs on, clicking in place, bolting up. Thats Maurice in the picture being productive sorting the rail out for the tricky S bend.
The rail was secured to the bridge with M8 roofing bolts straight through the sleepers and the steel bridge. A hand in the cold pond water working the ratchet spanner ensured that this became a quick job.
Theres about 3 metres left to do, but we ran out of track. Hopefully the Maxitrak order wont be too long.
We now need to ballast up the track weve laid and level it all properly. But guess what? Rains forecast for the rest of the weekend; surprise, surprise!
|
|
|
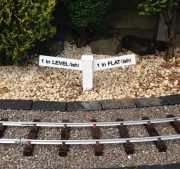
The next day a few hours were spent moping round the workshop waiting for the rain to stop (it didnt). So instead a gradient marker post was made from a bit of square white drain pipe found in a skip.
Plastic letters from C & L Mail Order Ltd were stuck to it with special drainpipe glue. The fumes were pretty powerful!
The rot free sign makes a nice charming little feature which is one of the reasons I started on the miniature railway encounter.
|
|
|
Merry and June
Woo Hoo! Some people have left comments in the Guestbook! (It doesnt take much to keep me happy).
Trouble is, unless I pay a fortune to some unheard of company, I cant reply to the messages in the Guestbook. So Ill comment here instead.
Message No.3 "When will you be open to the public ? Could you accommodate a coach trip of 52 rail enthusiasts ?" was anonymous. Well in reply to Nick, all I can say is that if the 52 rail enthusiasts brought a shovel each, itd be open a damned sight quicker.
Message No.4 was a more serious, and surprisingly complimentary, "Looking good Chris, been watching for a while. Its nice to once again see you prove what can be fitted into a relatively small space. What are you thinking for motive power? ". Well Ive nearly finished building a battery diesel loco. I was keeping it quiet until its grand unveiling (and I put it all together so I can take photographs). I can tell you its an 0-6-0 chassis with two 12v motors. I made the body out of MDF as my experience with metal didnt really go beyond 16mm scale (that O Level metalwork was quite some time ago
.). Its in the image of a cabbed O&K (think Andel Models type of thing) and I think it is very cute. I suppose the proportions are more suited to 18 gauge prototype.
The current problem is that Ive just found out that one of the 12v batteries is goosed. The other (wired in parallel) wont hold its charge. So Im probably going to buy one big 110 amph leisure battery. Lets wait and see.
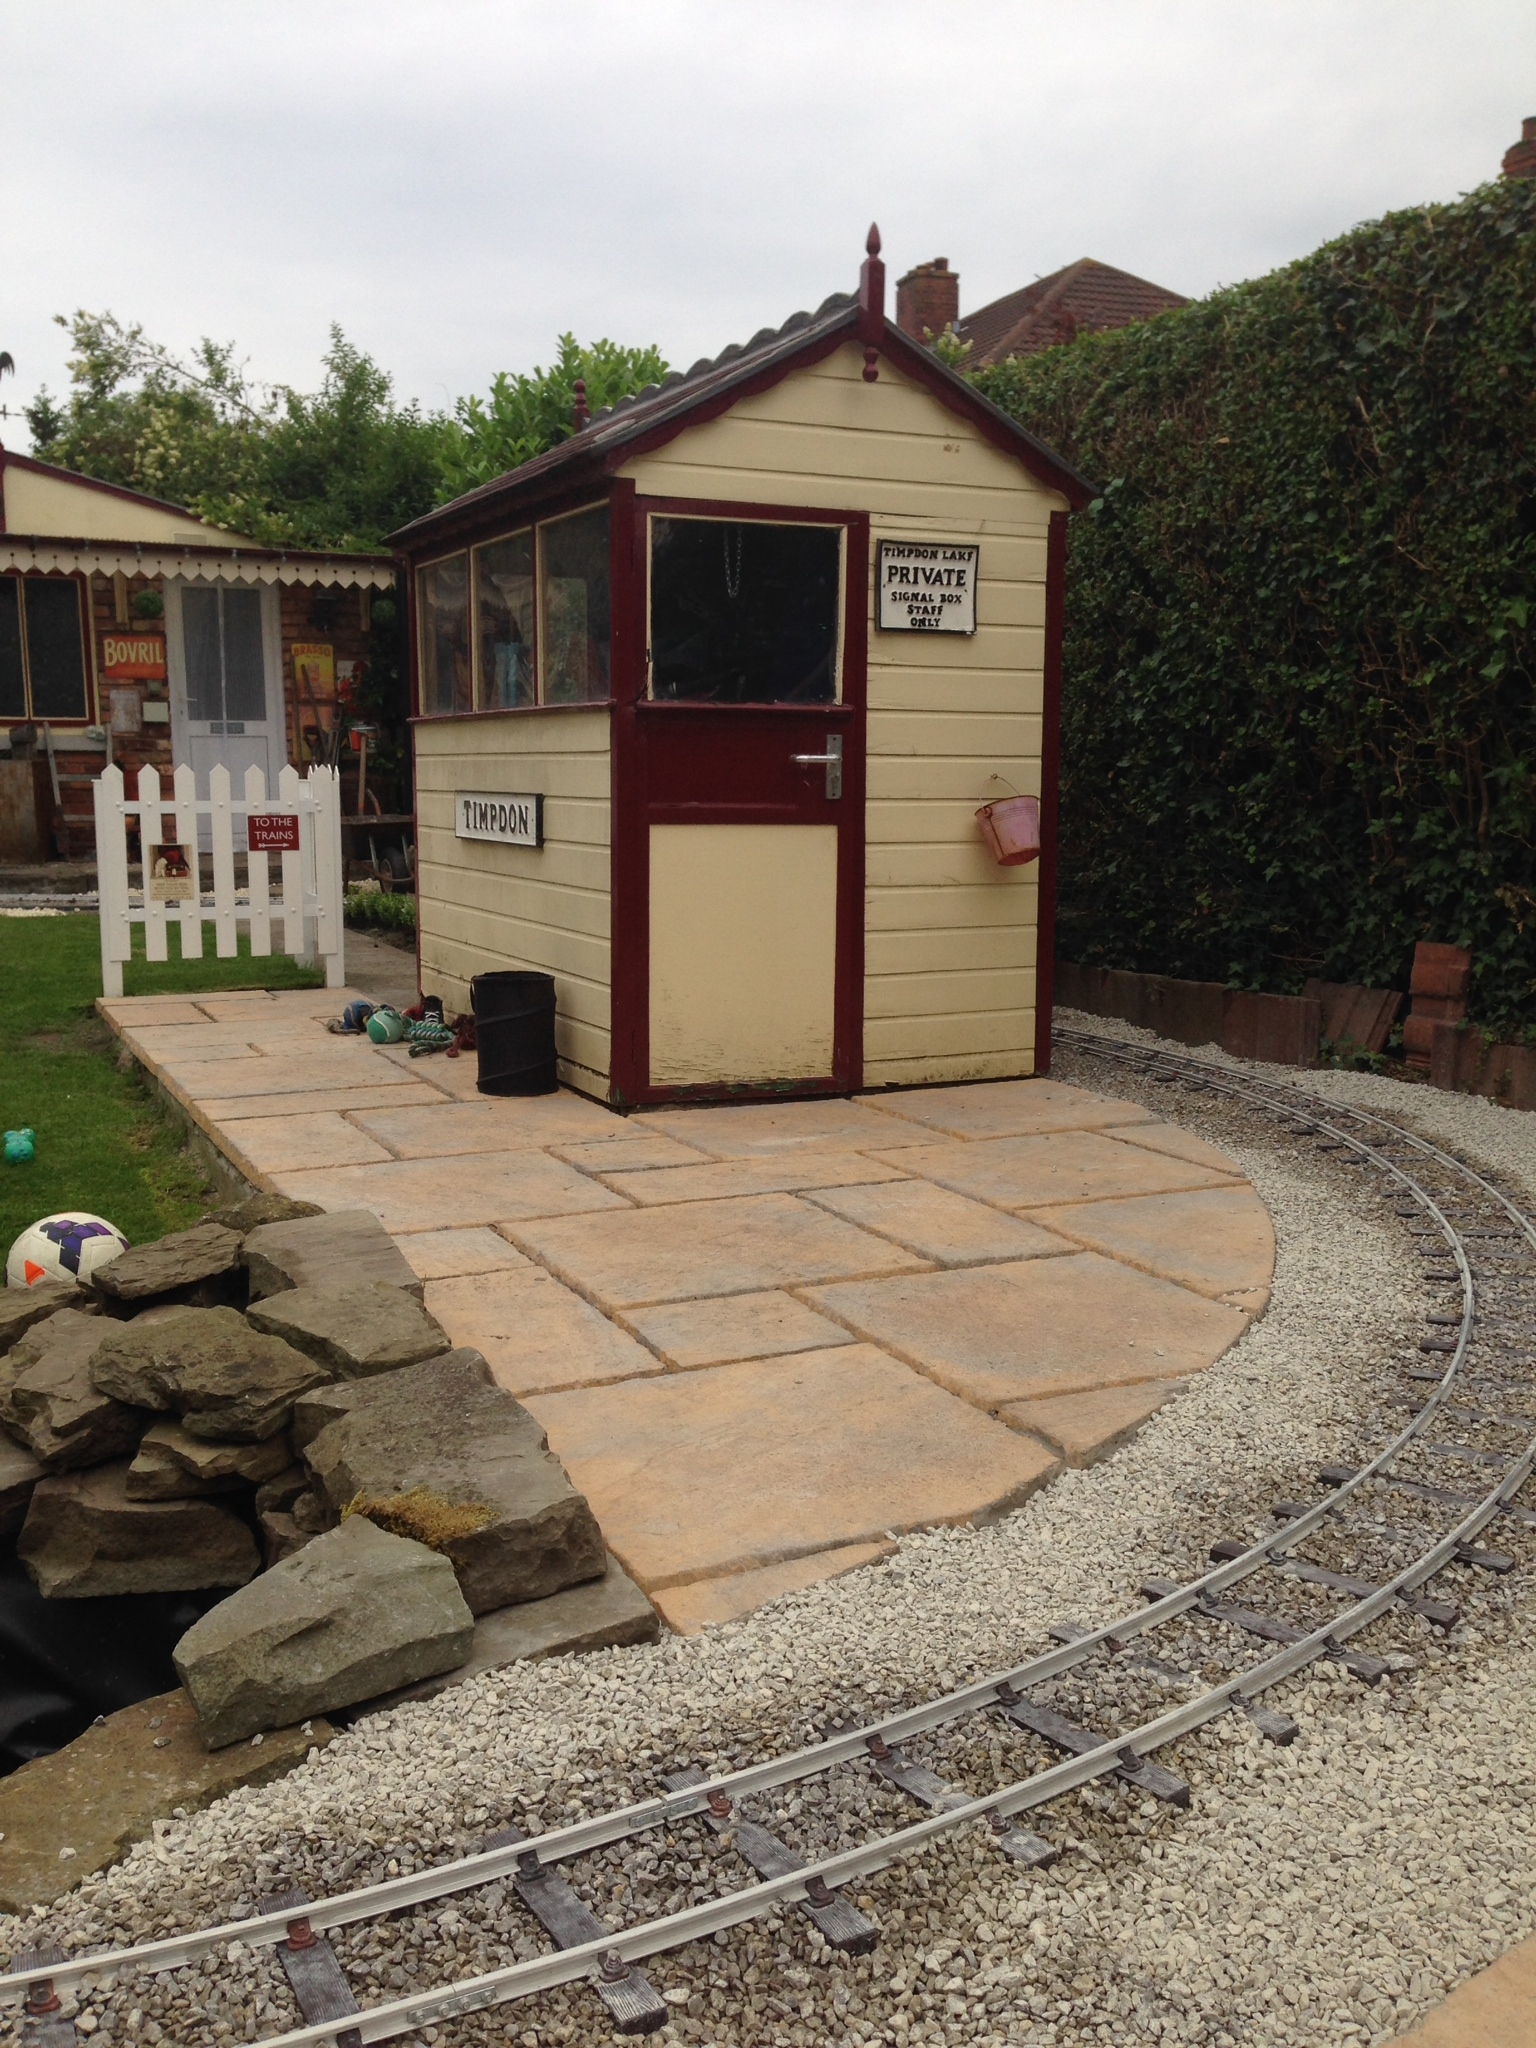
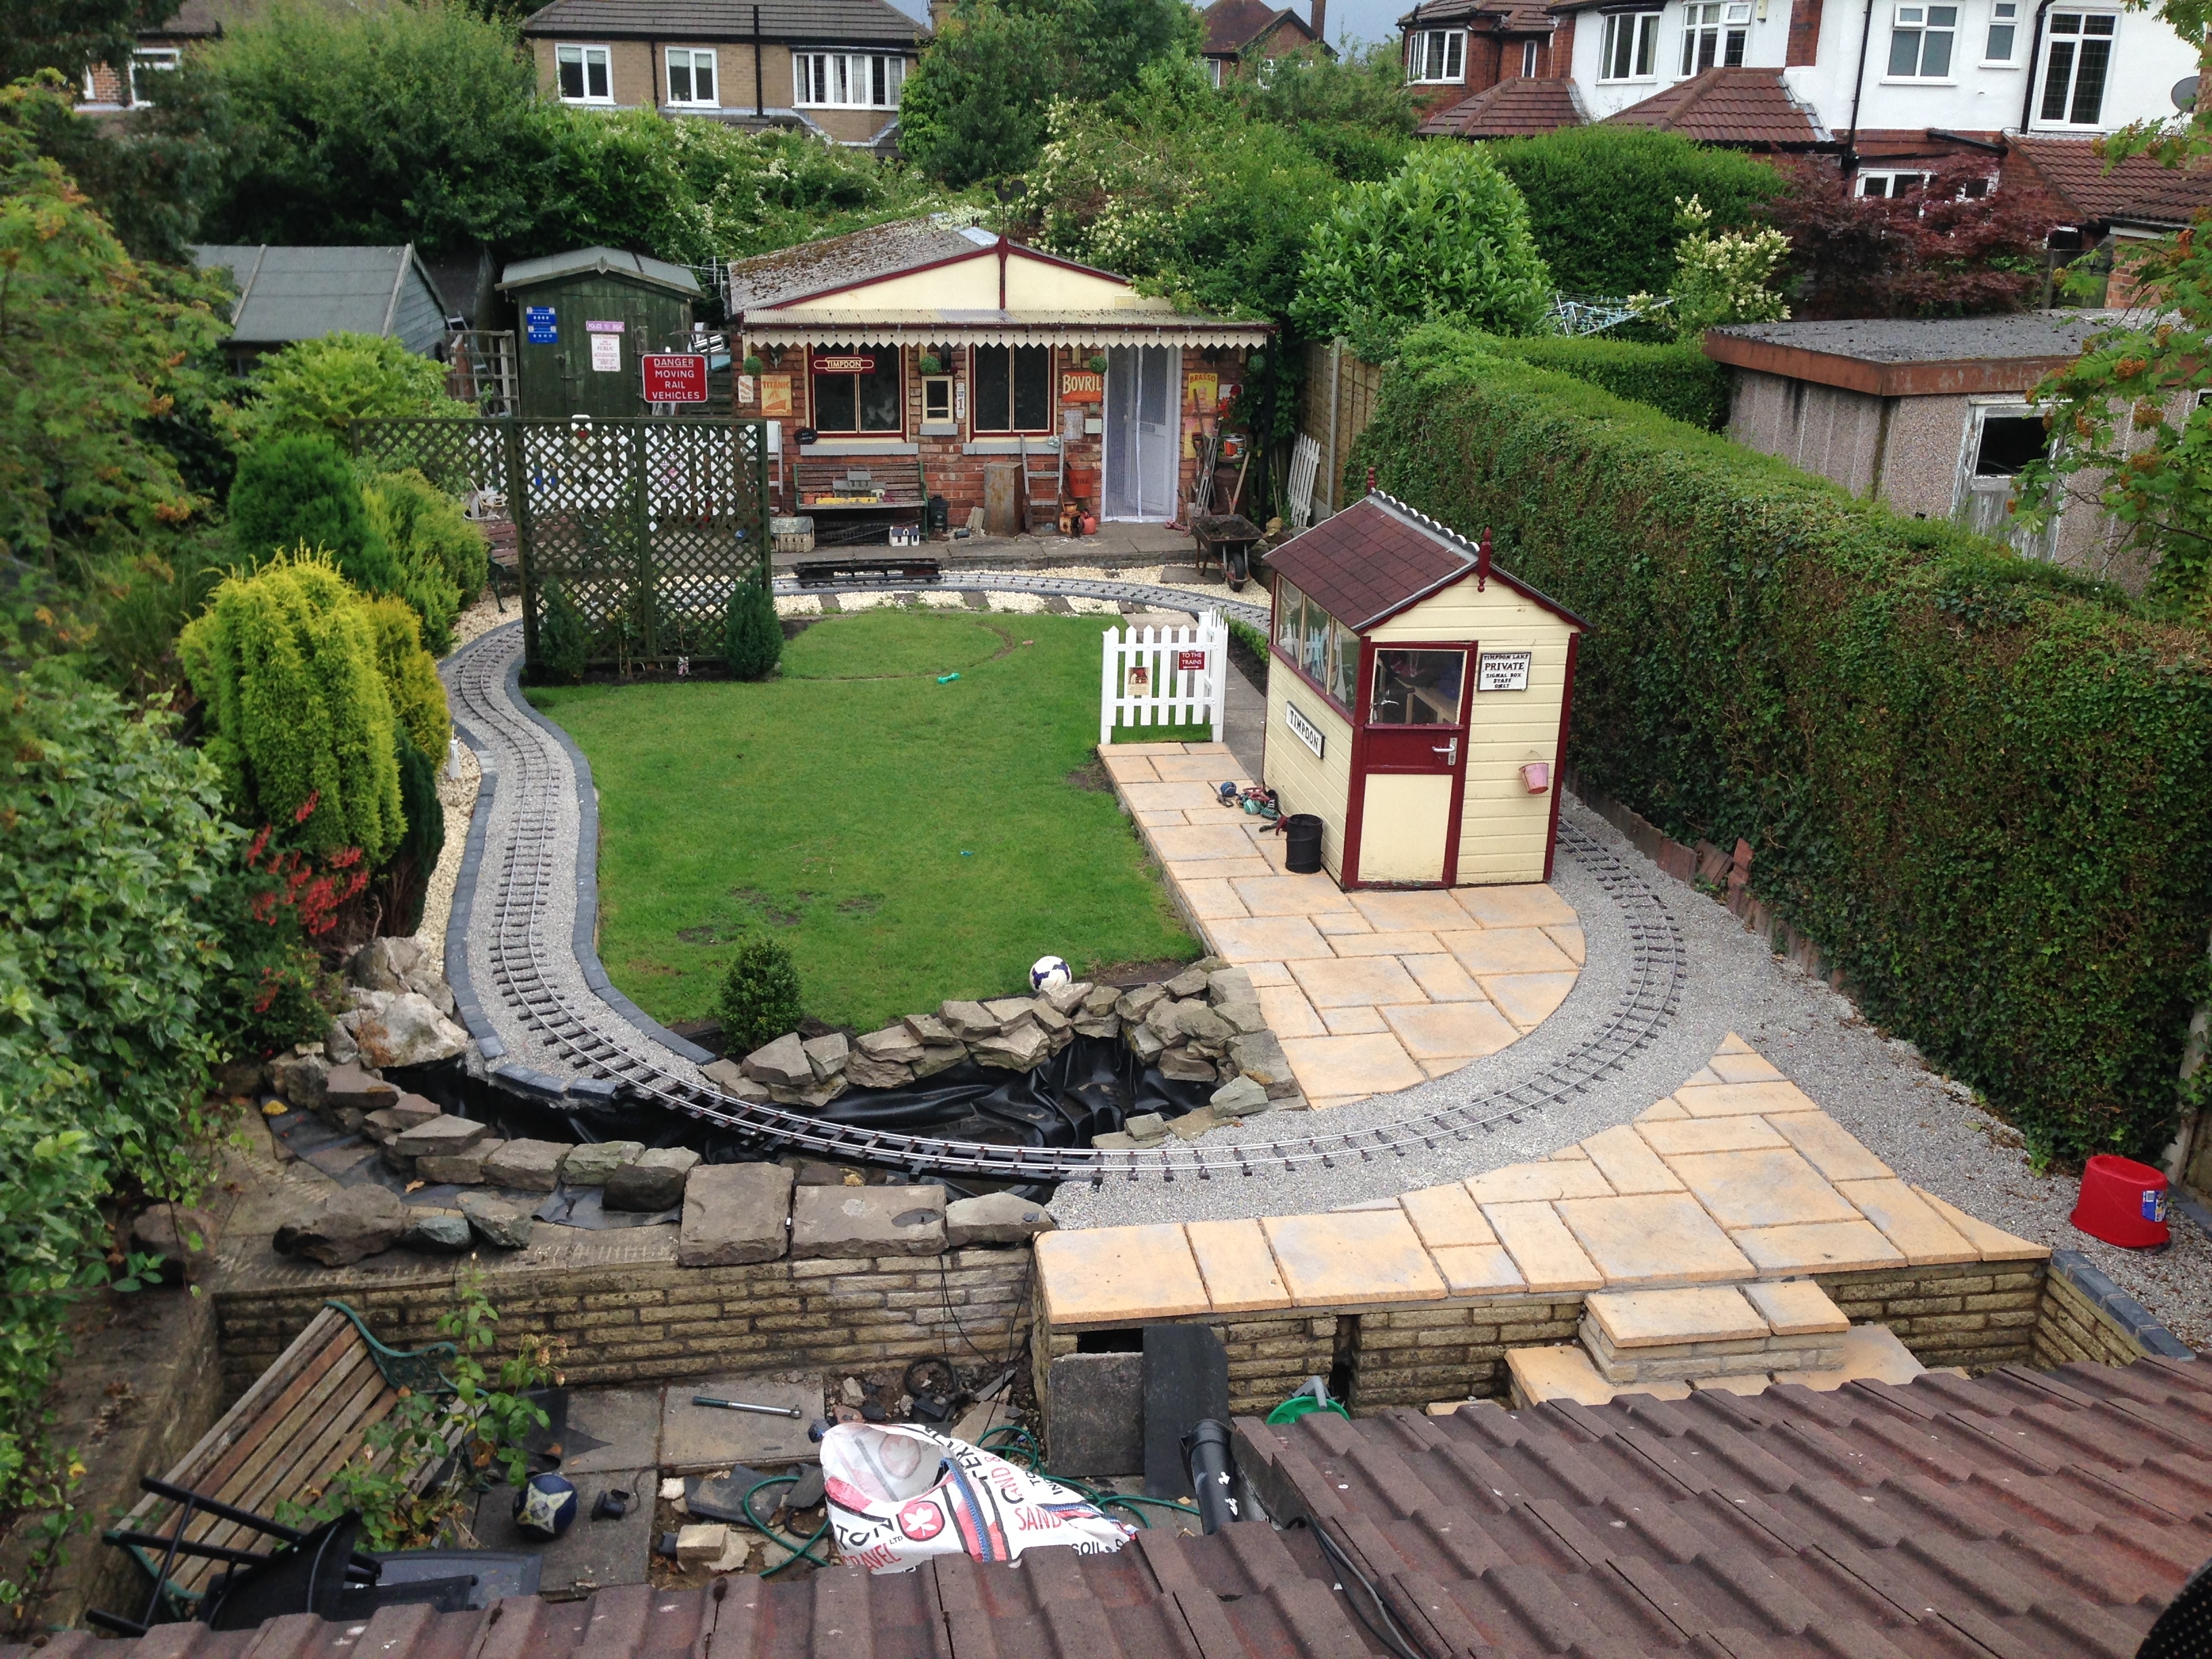
Whats been happening in the garden? Well just gardening to get it looking half decent. A path from the signal box to the workshop station has gone in, with lots of station picket fencing (which I made out of plastic because I hate painting). About 15 shrubs have also been bunged in with a few conifers and some flowery green things so well see how long it takes me to kill these.
Some pictures promised next time when Ive got to the end of this stage.
|
|

|
June is Bustin Out
Theres been so many nice days recently that Ive had no time to type on this web page. Sometimes I think Id be glad of a bit of rain so I can have a rest.
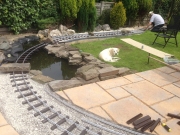
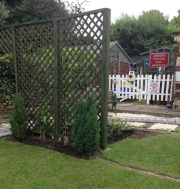
I mentioned Id been gardening. Ive always been more of a Fat Controller than Alan Titchmarsh. You know where you are with concrete and stone. Plants though, keep changing and dying, with creepy crawly things eating them first. Well despite this, neighbour Graham bullied me into buying some shrubs which, once I arranged them, he bunged into the soil. So weve now got leafy things behind the trellis and climbing leafy things in front of it. I should make the train journey more interesting when it emerges from behind the bushes. Trouble is, it might be a good few years before they grow that big. Emerging from behind a twig is perhaps more apt at the moment.
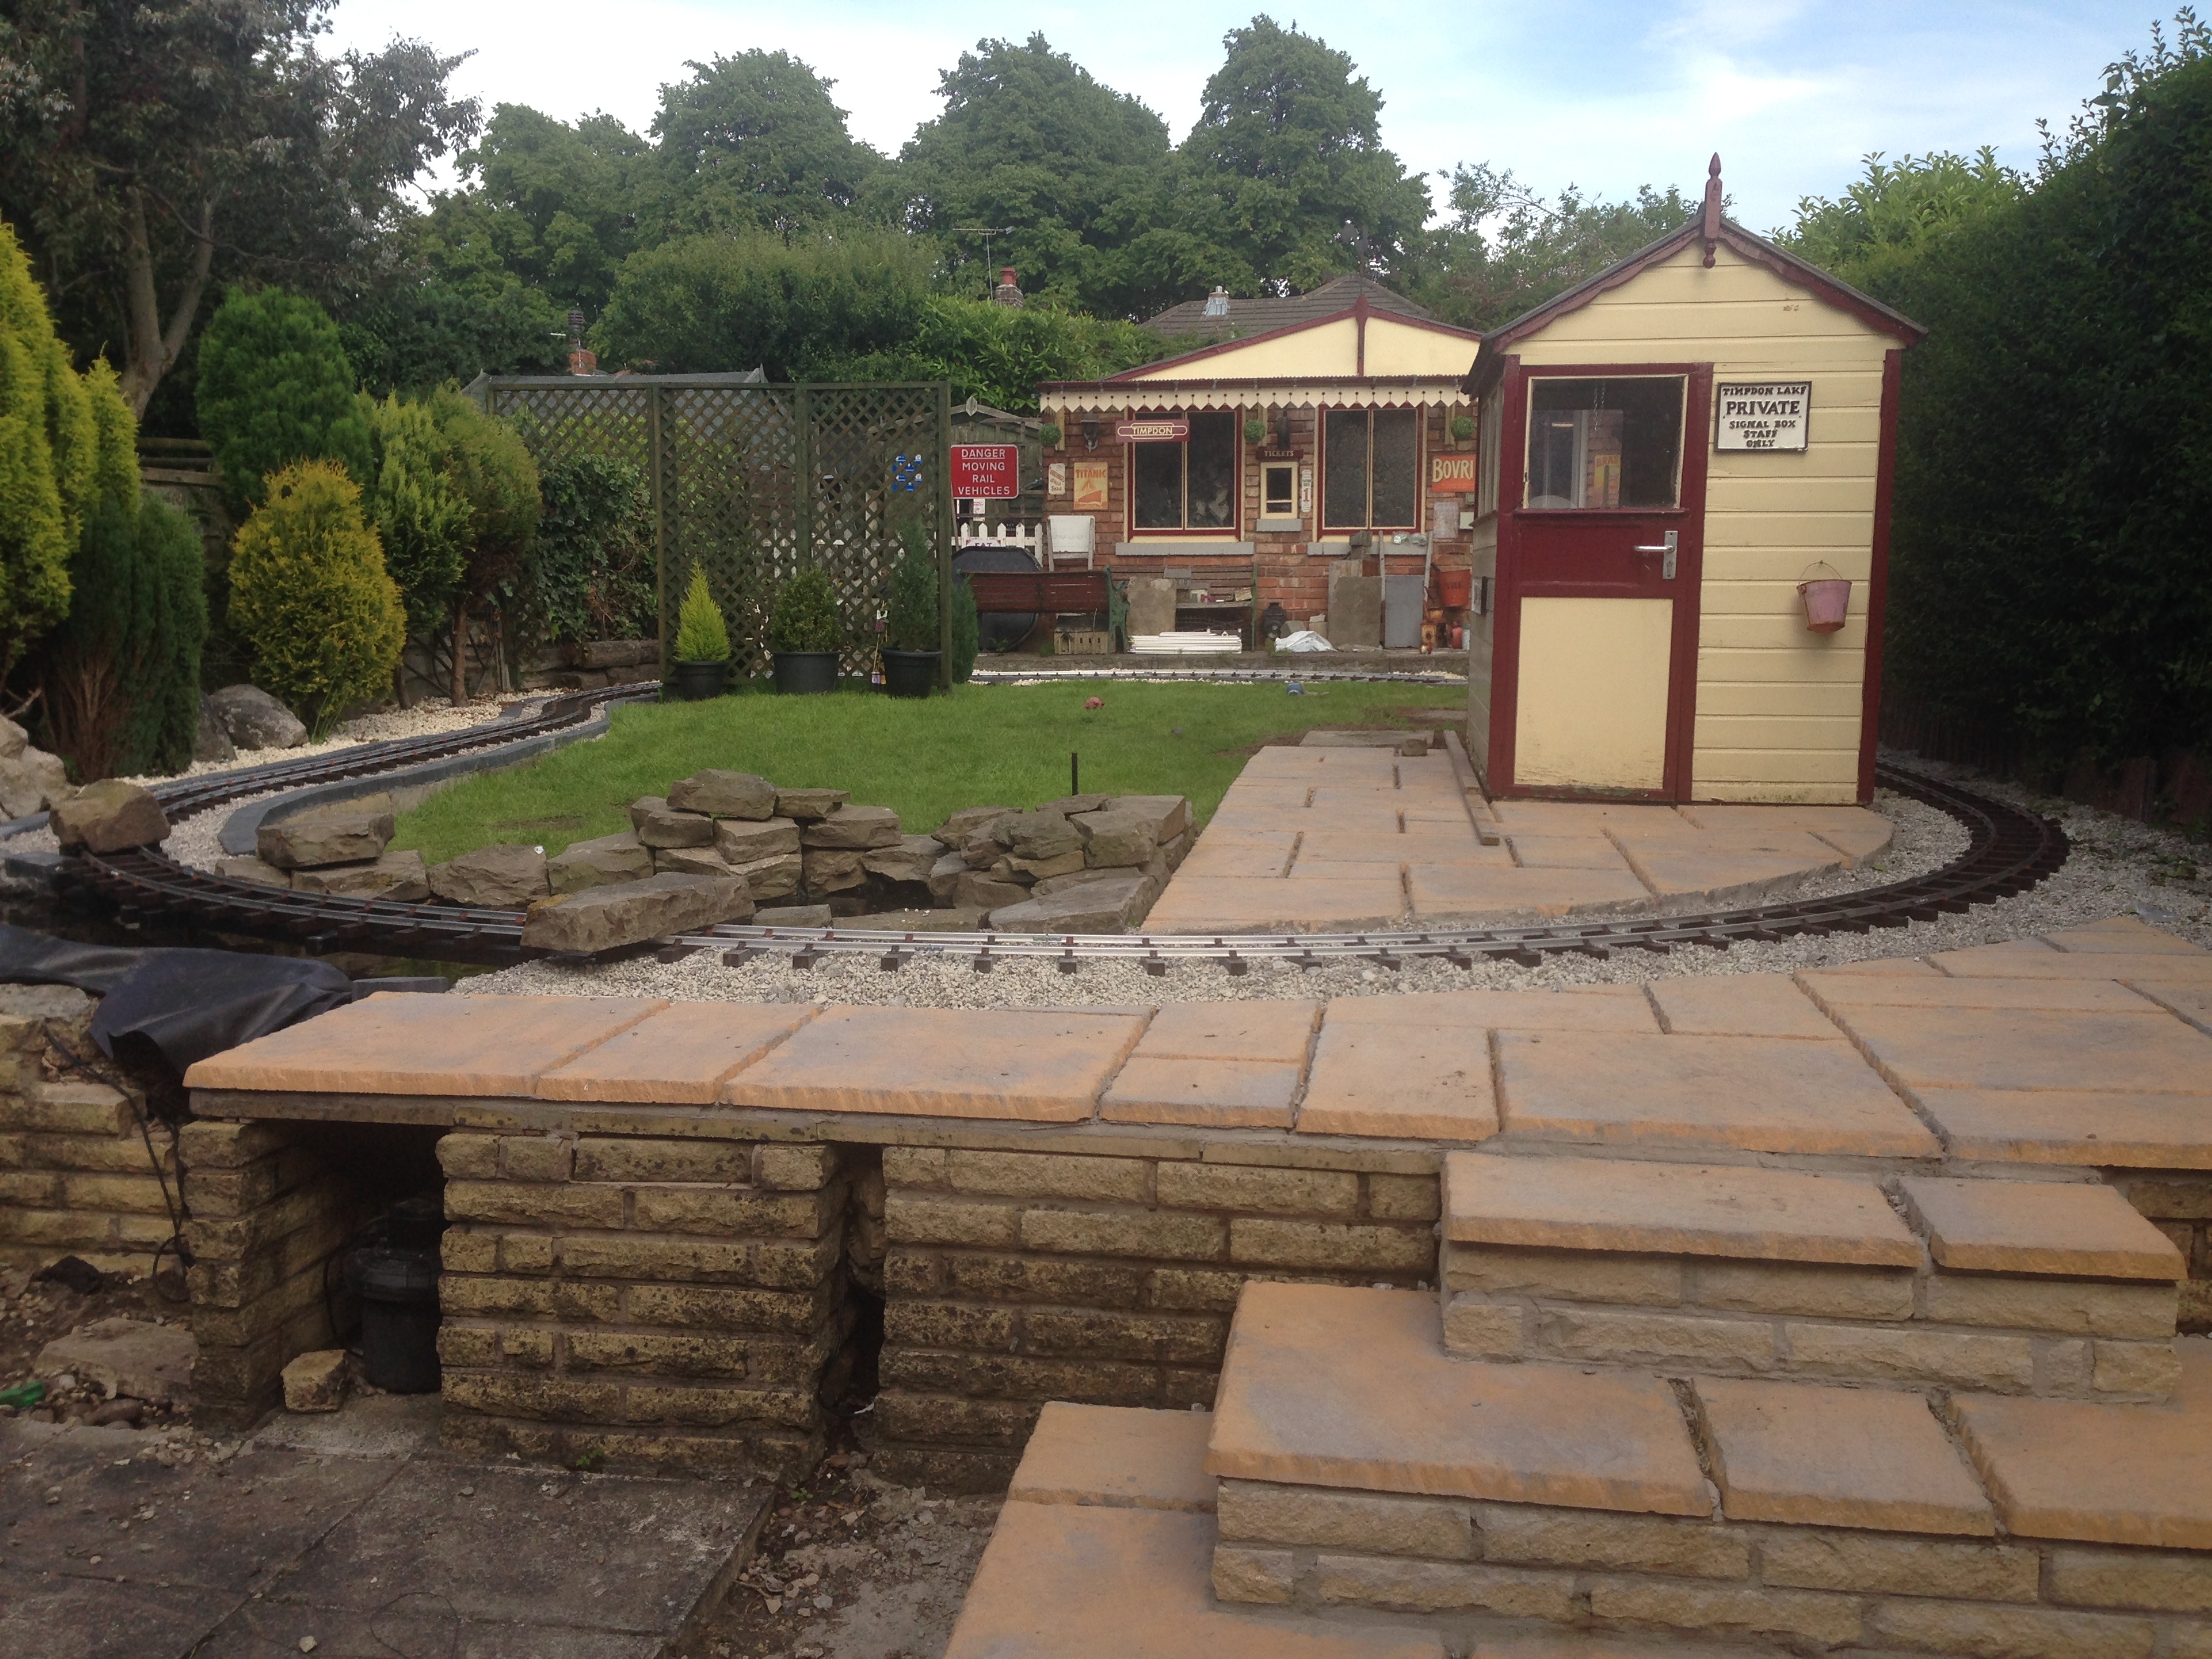
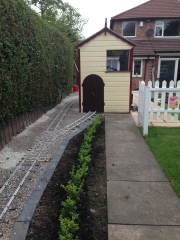
The concrete slab path has been put down from the signal box to the workshop, with some little box privet things in a neat line alongside. Give it a few years, and Ill be cursing cutting these every month. I didnt really want to do this job as it wasnt important to the running of the railway but Im glad I did. Apart from removing the obstacle course to be negotiated on the way to get a screwdriver from the workshop, it looks pretty good (if I say so myself). The white plastic fencing, made from downpipe and UPVC skirting, seems to set it off.
The railways loco now has a home! An arch was cut into the side of the signal box and wooden tongue and groove doors were made, hinged from either side. This elevation of the signal box is now known as the Engine Shed. Of course its the same building (and thats a grand name for such a tiny shed), but you cant see both sides at once.
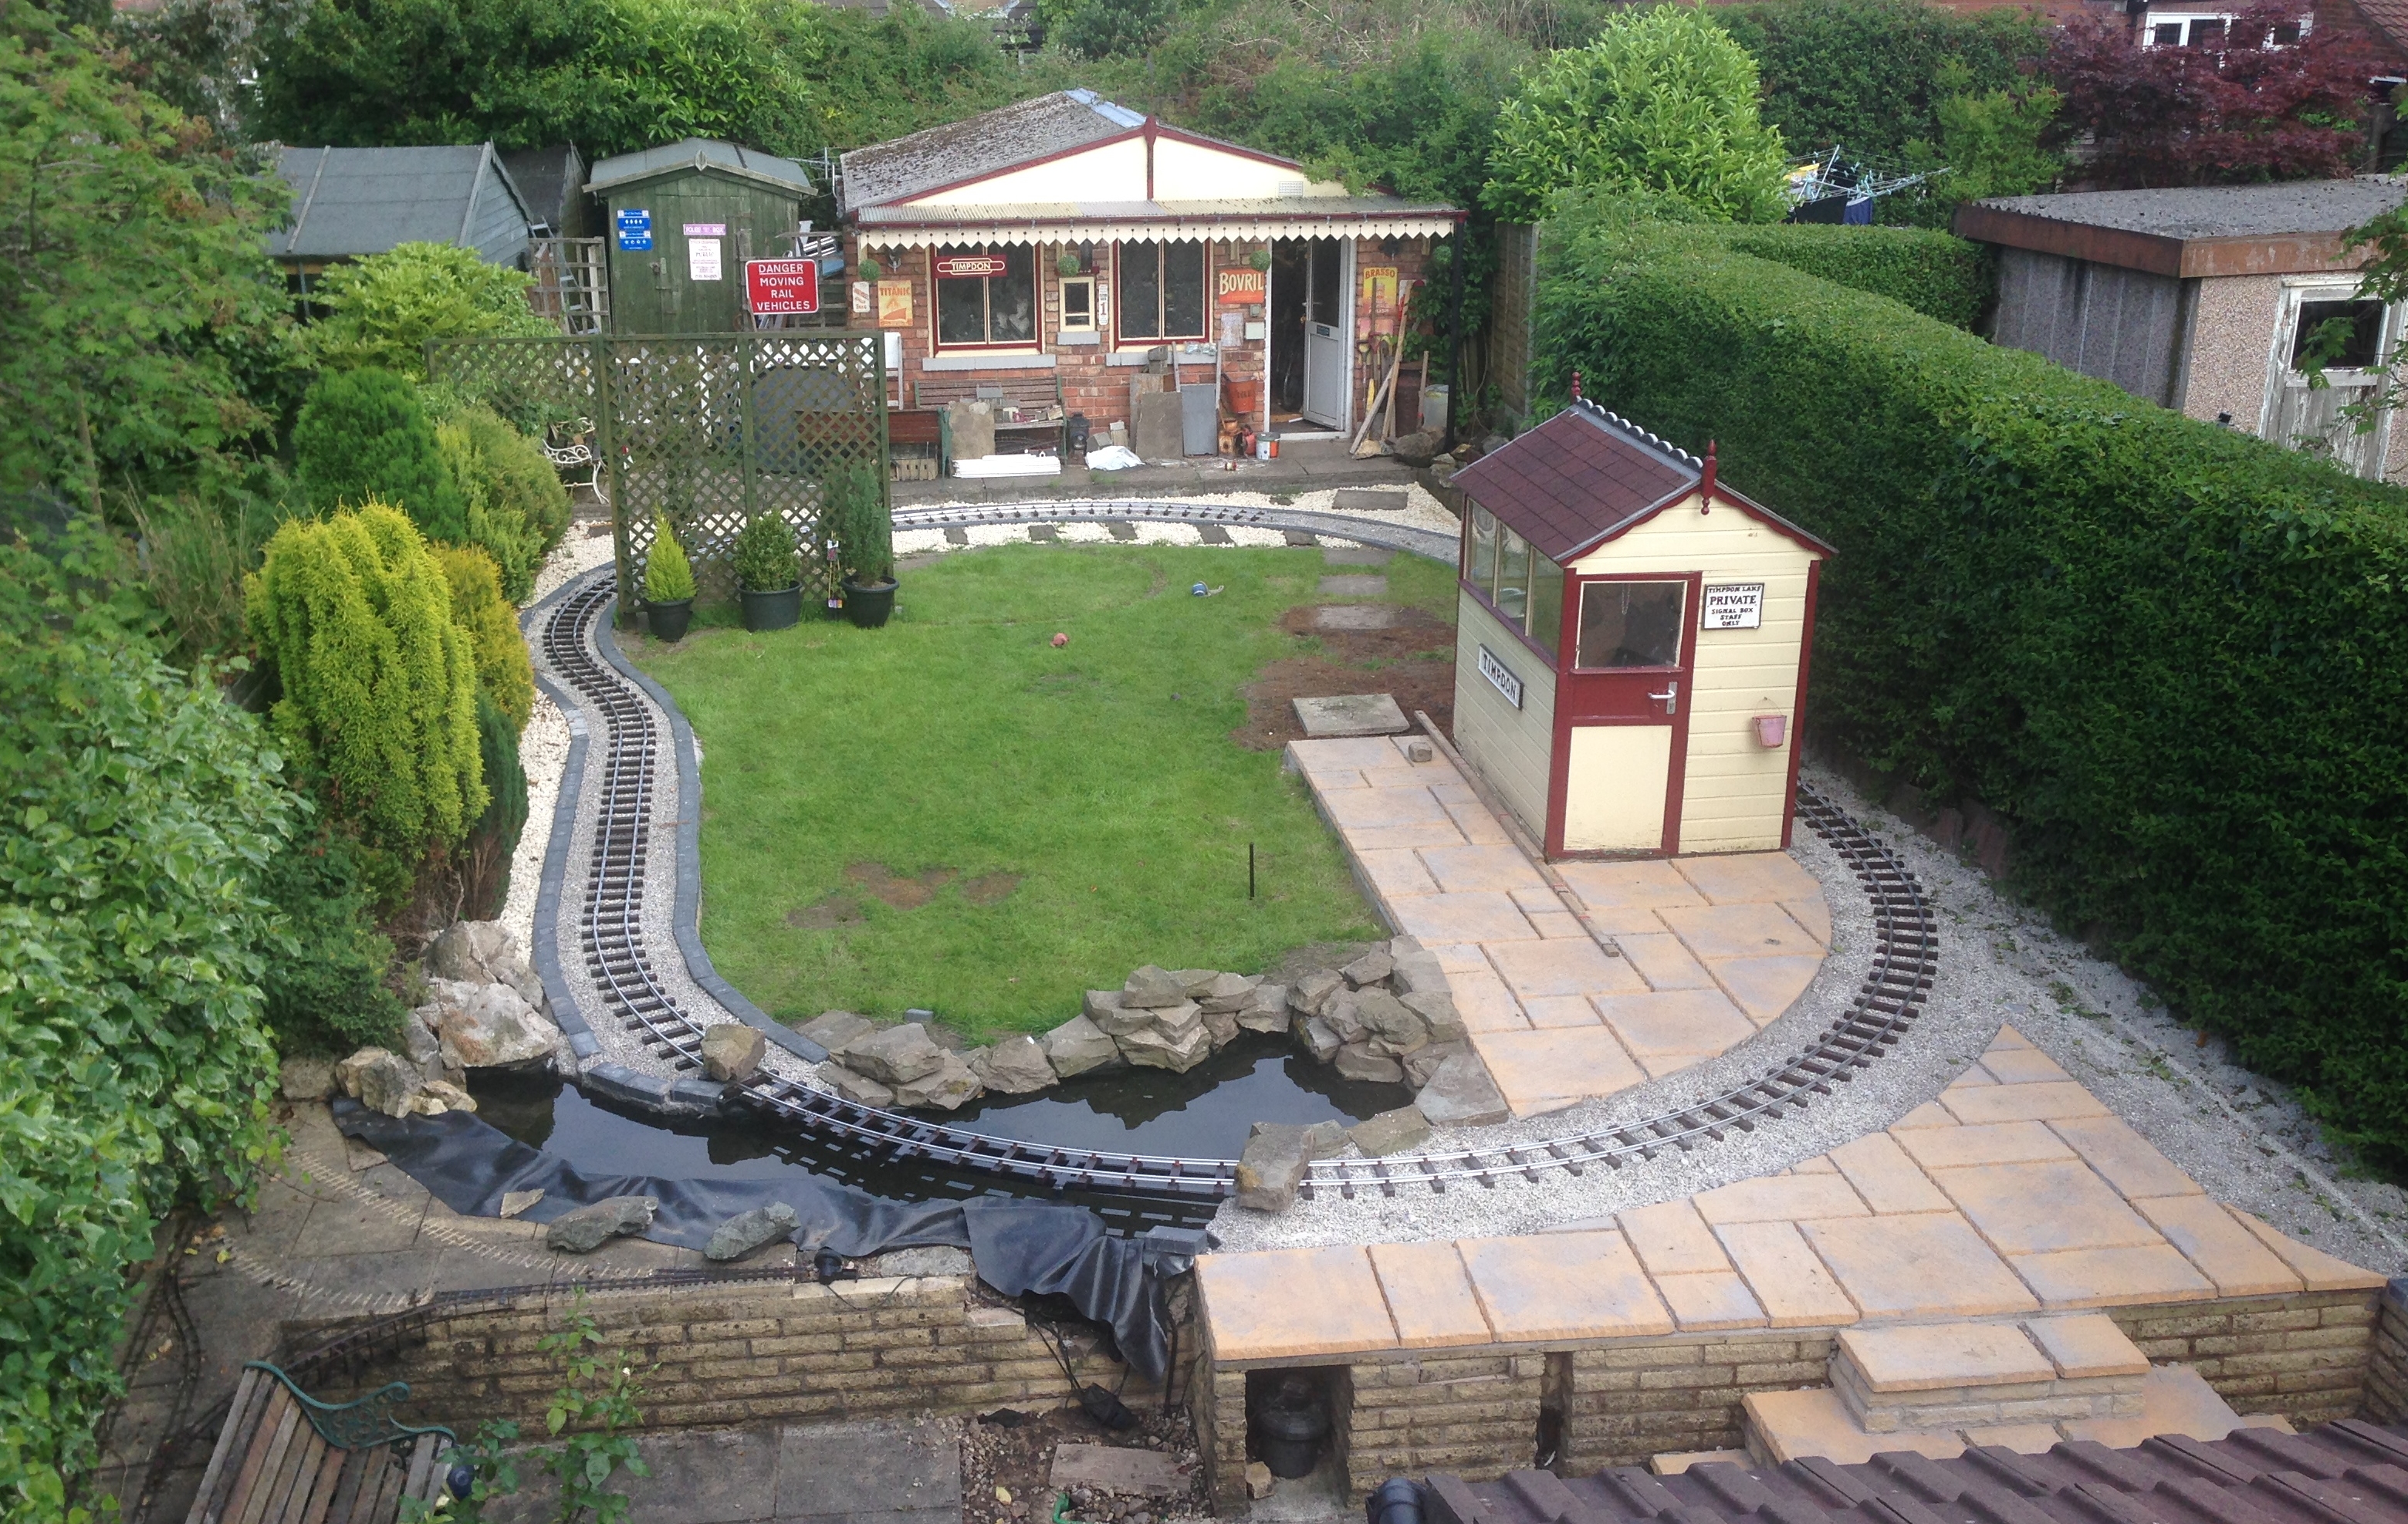
The last bit of track has arrived!!! I had the Monday off work, so friend Gauge 1 Maurice helped me finish the final bit of the oval and also the siding into the Engine Shed. Once this was done, I seemed to be inspired to carry buckets of ballast from the front of the drive and brush it into place on the track. I think wife and son were also enthusiastic, as they joined in and helped one evening (or perhaps, more cynically, their motives were to get me to finish it so I could start work refurbishing sons bedroom
). Anyway, thats done now.
The brick bridge supporting pillar in the middle of the pond didnt turn out as anticipated. In the end, it was a lot easier to lay a couple of the local stone blocks on top of each other and wedge some slithers of slate under to make fine adjustments.
|
|

|
Thursday 26th June 2014
A date that nearly went down in the annals of history. A near-miss landmark.
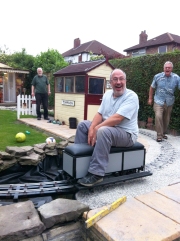
Late Thursday evening, a few railway enthusiasts who are old enough to know better, carried a ride on wagon out of the workshop and pushed me round the track. Much whooping, mickey taking and laughter abounded for an hour or so (incidentally, it always strikes me as strange that the neighbours just seem to accept this weird behaviour from over the fence; they all must be odd) but I still hadnt managed to stay on it for a complete lap. Of course I was bitterly disappointed at this, but local resident Phil (who knows about this miniature malarkey) diagnosed the wheels on the wagon. It turns out that the bogies werent compensating for uneven track (which hadnt been fettled by me yet), plus the wheels were too big, plus the flanges were too small. With just a knowing smile and a puff on his electronic pipe, he unbolted the bogies and has taken then off to his garden workshop. Apparently he has the machinery, having built live steam miniature engines. So with a long face I went to bed.
Next day I was determined to level the track. Ballast was tweaked, raised and lowered, and the bridge (with its negative camber) was given a good coat of looking at. In the end, 36mm wide strips of black 3mm thick plasticard were cut and placed between the outer edge of the sleepers and the bridge supporting rails. The spirit level showed it worked!
To find out what happened, go to the next page

|


|
www.timpdon.co.uk
|